I'll start with the resizing of a shirt. Below you see the shirt and the tools I will use. The design ruler you see helps to make the correct curves for reshaping armholes. It also works for bodice and skirt alterations and any other kind of curve you would want to make for a garment.

This was my brother's shirt and he didn't like how the sleeves fit so he tried it on for me and I measured that he wanted the sleeves thinner by about an inch. By changing this, I also had to change the side seams of shirt so that it would fit back together. The seams of the sleeves were an irregular shape so my design ruler was a really helpful tool.


Here you see the body of the shirt marked for new seams on the sides. I was able to measure accurately to accommodate the new sleeve lines by marking on my ruler the exact lines I needed and transferring them from the new sleeve lines to the body of the shirt.
It seemed a little wonky at first because the old seam lines were such a different construction, but after ironing and finishing the edges, it fit back together just fine.
Unfortunately, my brother was in a hurry to leave after I finished the shirt and I didn't get a picture of the finished product! Now he lives in Washington - Maybe I can get him to send me a good shot of the finished shirt...
On to hemming:

These were new dress pants for a wedding my friend was attending. Hem- jobs are pretty straight forward. I had him try the pants on with the belt he was going to use. Ideally he would have worn the shoes he would be wearing for the wedding as well but he hadn't bought them yet.
Not a big deal, we just need to pin up the hems to a good length where they don't drag on the ground and where they aren't too short that your sock garters show...unless you are into that kind of thing.

I pinned one side up high and one low so he could do a sit-test and walk around in shoes and see what side he liked better. Once one side was pinned to the right length, he dropped his drawers so I could iron a crease in the hem in the correct place. Then I measured the amount of fabric below the crease so I could copy the crease to the other pant-leg.
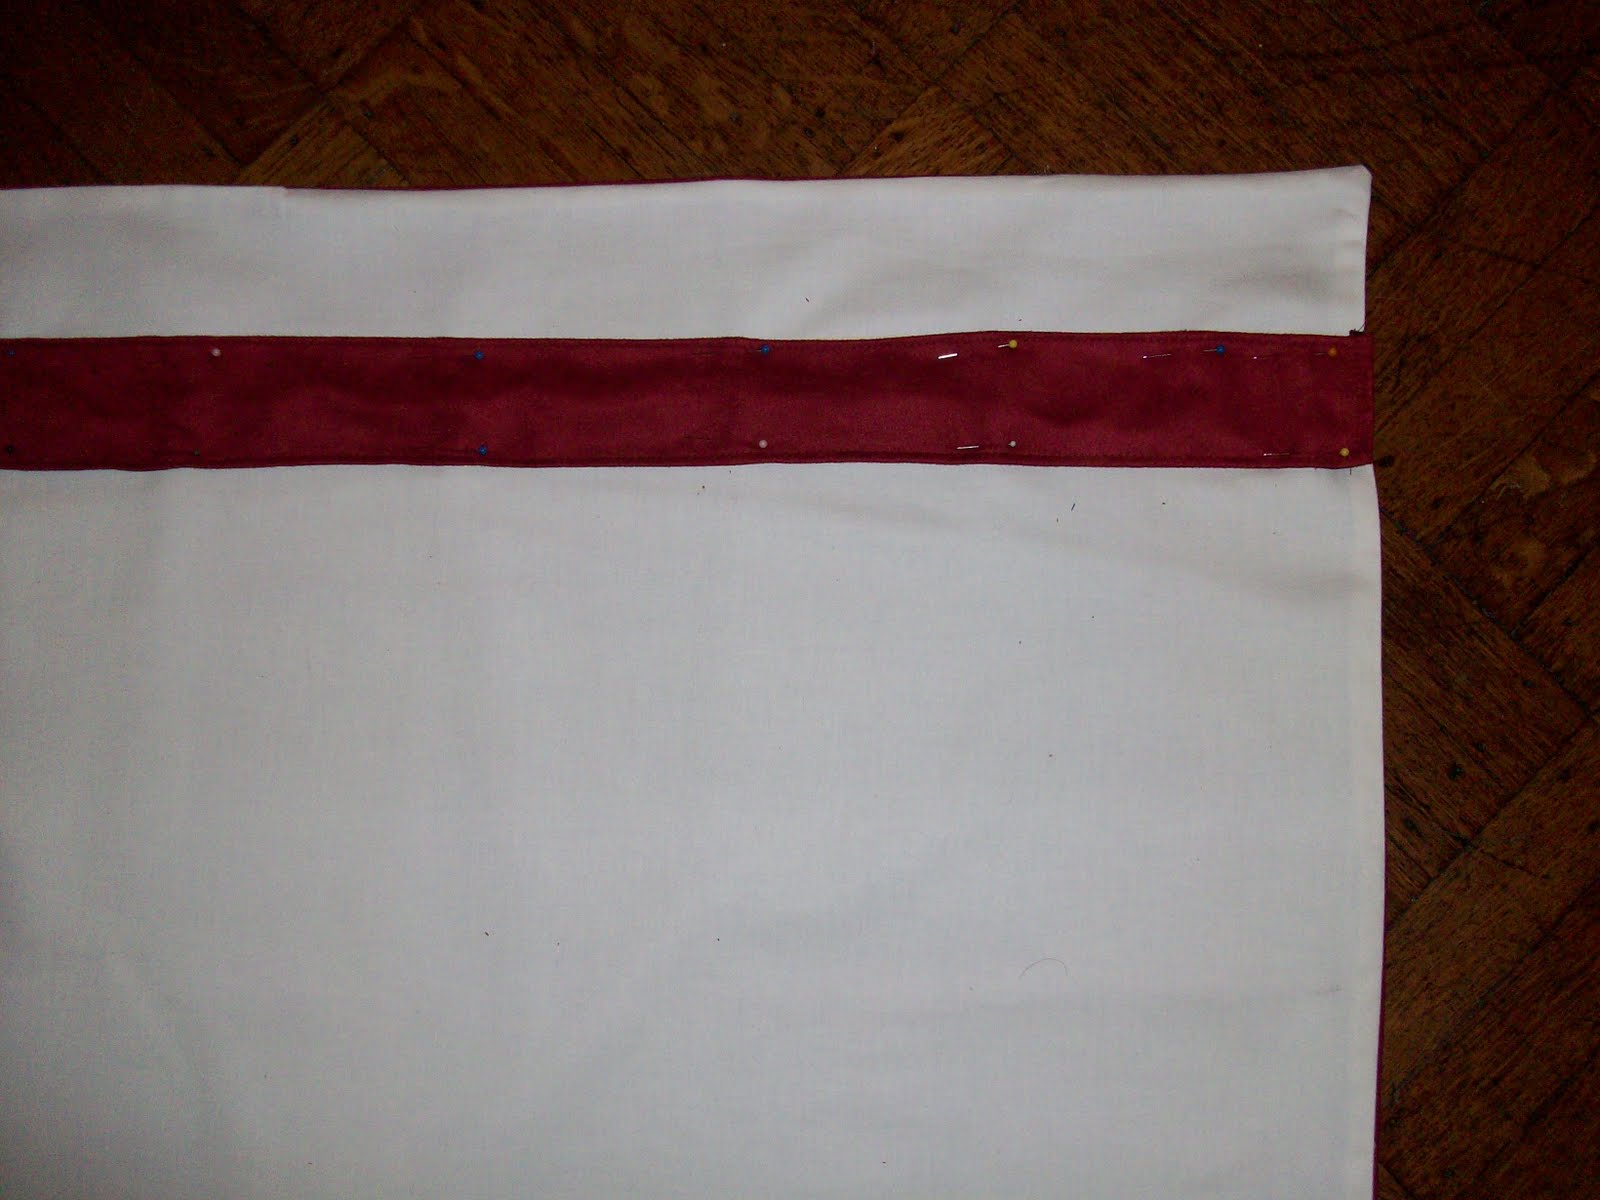
Since there was a lot of excess fabric I measured about 2.5 inches from the crease and marked this line around the cuff. Then I used an overlock machine to finish the edge and hand sewed the hems up. I used a simple loop stitch because it goes quickly and I was careful not to stitch too far into the outer fabric so that the seam is basically invisible when turned right side out.
Finally we have a well worn flannel shirt that needed some new elbows.

This material was worn pretty thin so it needed some larger patches to reinforce the surrounding areas. I cut the right shapes for these patches by laying the new fabric over the old and making sure the fabric covered all of the weak parts or high stress areas of the sleeve. Then I used an overlock machine to finish all of the edges of the patches. Then I pinned the first on in place and sewed it in around the edges and sewed around any holes that it was covering.

 |
| Someone had attempted to patch this elbow before me :) I left this in place and reinforced around it. |


The finished sleeve on the outside.